Making a Rambler® Travel Guitar – Part 2
Last time we visited Strobel Guitars Custom Shop we saw how a Custom Rambler® Professional Electric Travel Guitar starts the building process. We selected some fine Tonewoods; book matched Quilted and Flamey maple tops and glued them together with Ash or Mahogany bodies. Today we’ll take a look at how the Rambler® Travel Guitar bodies are shaped, routed and drilled.
It takes a lot of planning and craftsmanship to create a great sounding, great playing, high quality travel guitar. Strobel Guitars works with you to optimize the wood selections, neck shaping and general set up to match your style of playing. You pick the wood, the color, the neck shape, the inlay and choose any number of available options (piezo bridge, gold hardware, coil tap, etc.).
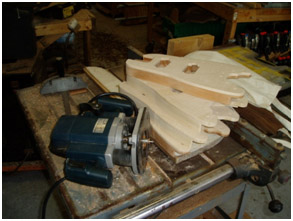
After we glue up and plane the body blank (as seen in Part 1 of our “Making a Rambler®” story), we attach Corian® (the counter top stuff) templates to create the front and back outlines of the Rambler® Travel Guitar.
Front and Back Rambler® Travel Guitar Templates.
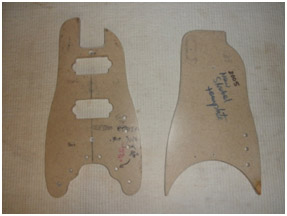 Front and Back Rambler® Travel Guitar Templates. |
 Rambler® Front Template
|
 Rambler® Back Template |
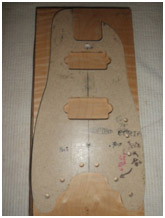
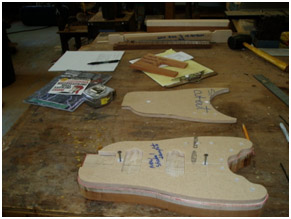
After the templates are aligned, we mark the front and back body shape, and the location of the pickups, tuning keys, controls, bridge, etc. Then we cut out the raw body with a band saw.
Cutting Rambler® Travel Guitar bodies…
 Marking the body outline. |
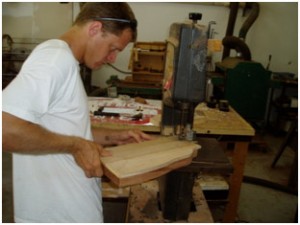 Tim cutting out a Rambler® body. |
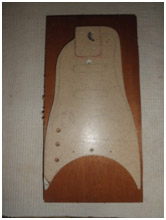
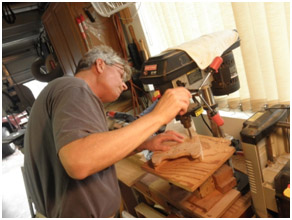
To save some time and effort with the router, we hog out the pickup and neck cavities on the front of the Rambler® Travel Guitar using a Fostner bit. We also hog out the tuner flange on the back before routing.
Looking a little like Swiss cheese…
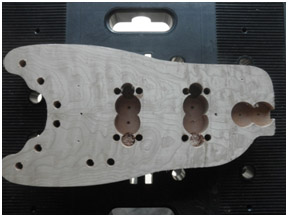 Rambler® Front Cavities hogged out. |
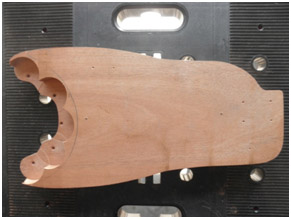 Rambler® Back Tuner Flange hogged out. |
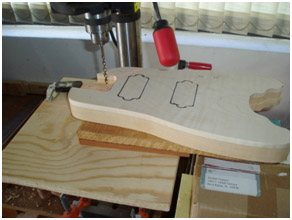
We re-attach the templates providing a guide for the router bearing to get a nice smooth body outline, and to provide the precise dimensions of the pickup and neck cavity routes.
Routing the Rambler® Portable Guitar Bodies…
 Putting templates back on. |
 Routing contours and cavities. |
Making some holes…
 Gene adding holes for volume and tone controls |
 Lining up neck bolt holes. |
Now that we have the Rambler® bodies routed and drilled, all we have left to do is sand, sand, sand, and sand some more before heading to the paint shop. We’ll get started on the necks while the bodies are getting painted.
Rambler® Travel Guitar bodies routed and ready to sand…
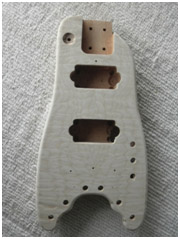 Rambler® Front |
 Rambler® Back |
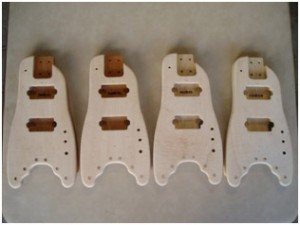 A bunch of Custom Rambler® Travel Guitars |
Please check back with us next time to see how we make the Custom Rambler® Necks and inlay. Ever wonder how the Truss Rods get in there??